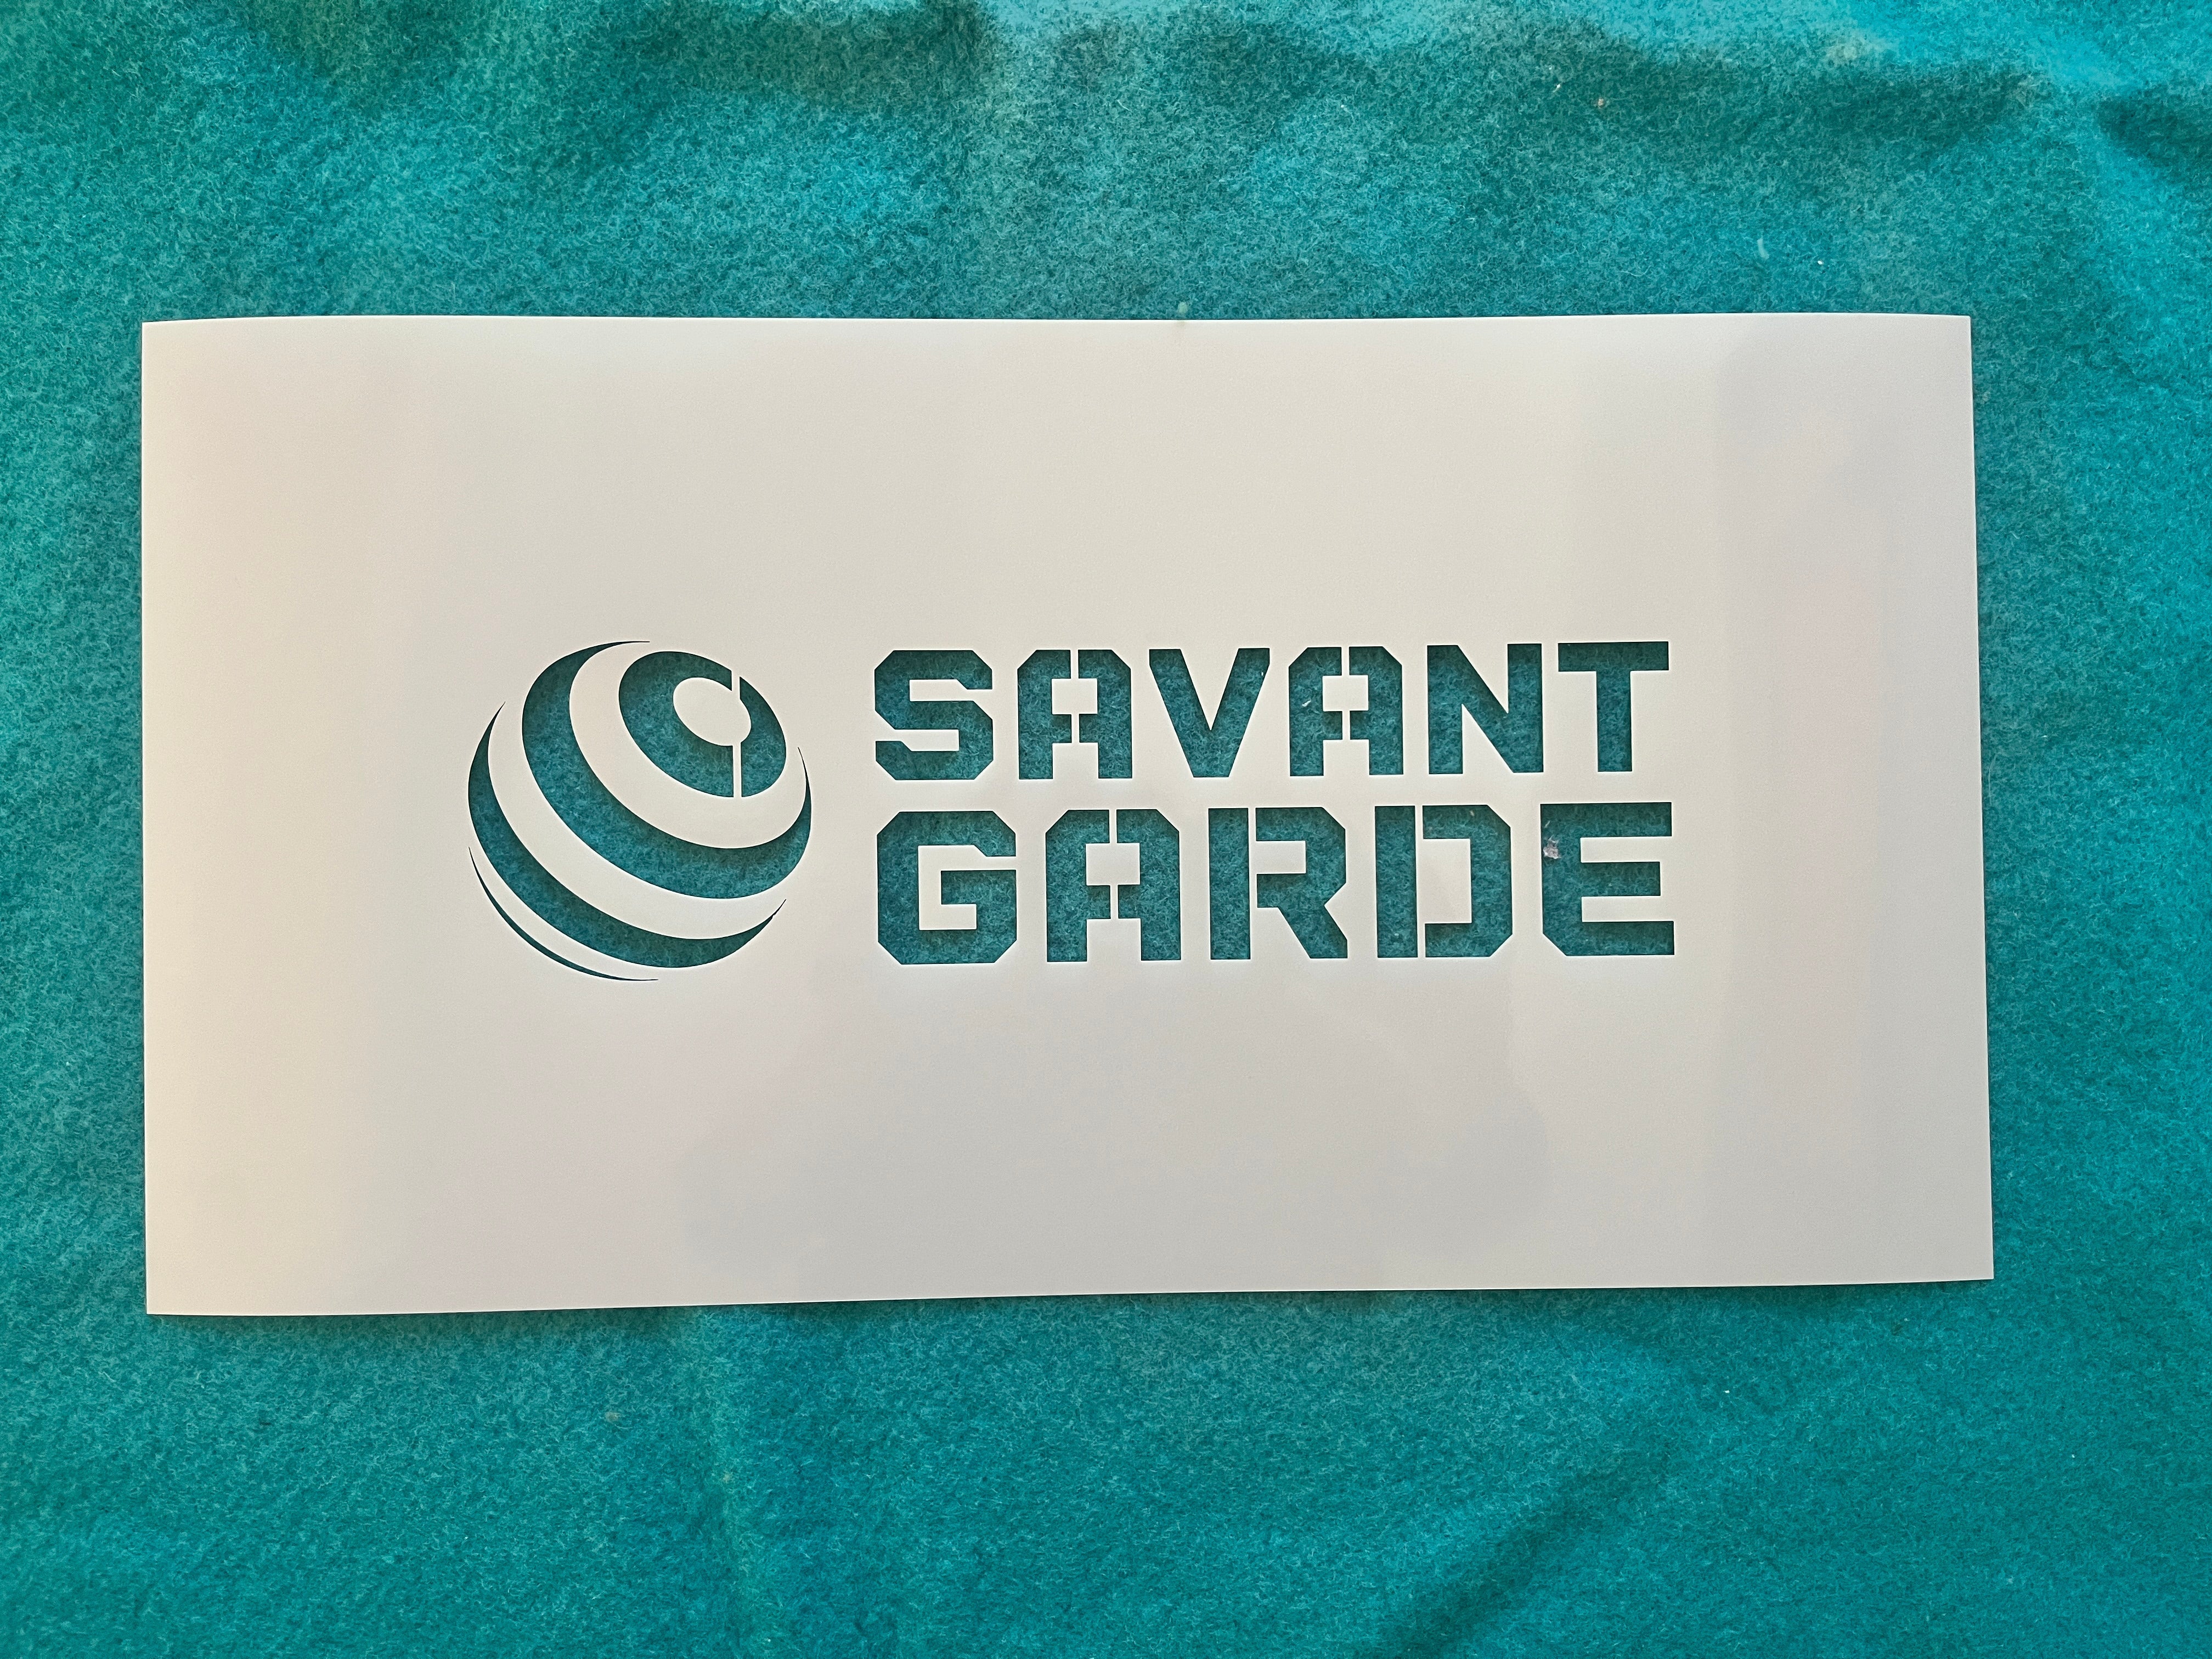
How to Turn a Logo into a Reusable Stencil
Turning a logo into a stencil isn't just a case of tracing the outline — the artwork usually needs adjusting first so it actually works once it's cut. Here's the process from file to finished stencil. If you want it done for you, our logo-to-stencil service handles the whole process — free proof included.
Step 1: Start with the right file
Vector files (AI, EPS, SVG, or a high-resolution PDF) give the cleanest result because the edges stay sharp at any size. A raster file like a JPG or PNG can still work, but it needs to be high resolution and ideally traced into vector form before cutting — otherwise edges can look jagged or blurry once enlarged.
We accept JPG, PNG, PDF, AI, PSD, SVG, or a clear photograph of a design. If what you have is not stencil-ready, we prepare it: minor adjustments are free, and anything more substantial is quoted before we start.
Step 2: Simplify where needed
Logos with fine gradients, drop shadows, or very thin lines don't translate directly into a stencil, because a stencil is fundamentally a two-tone, cut-and-hold shape. Gradients get flattened to a single colour or removed, and very fine details may need slight thickening so the cut stays structurally sound.
Where a logo genuinely needs more than one colour, the answer is usually a layered stencil — a separate registered plate per colour, aligned so they build up the finished artwork. We cut these routinely.
Step 3: Add bridges to closed letters and shapes
Any enclosed shape — the inside of an "O", "A", or a logo's negative space — needs small connecting "bridges" left uncut, or the centre piece will simply fall out. A good stencil cutter places these deliberately so they read naturally once painted, rather than leaving obvious gaps.
Our minimum bridge width is 1.8mm. That number is the single most useful thing to know before you send artwork. Below roughly 1.8mm a bridge will not survive handling, cleaning and repeated use — it tears, and the centre of the letter drops out on you mid-job. So if your logo has enclosed shapes with less than that available at the size you want, something has to give: either the stencil gets cut larger, or we thicken the bridge slightly.
This is also why a logo that looks fine on screen can still need work. A 2mm gap in a design at 300mm wide becomes a 0.7mm gap at 100mm wide, which will not hold. Scale changes what is physically possible, which is why we ask what size you need before we start preparing the file.
Bridge placement is the part that separates a stencil that looks designed from one that looks damaged. We position bridges to follow the logic of the artwork, and they are visible on your proof before anything is cut.
Step 4: Choose material based on reuse
A logo stencil for a one-off event can go on a lighter, cheaper material. A logo that's going onto branded packaging, vehicles, or signage repeatedly should go onto mylar or another durable material that will survive the number of applications you're planning.
In practice that means cardstock for a single event, and 0.35mm Mylar for anything recurring. Reusable versus single-use works through the trade-off.
Step 5: Review a proof before the final cut
Always ask for a digital proof showing exactly how the bridges, spacing, and scale will look before the stencil is cut. It's far easier to adjust a file than to recut a finished stencil.
Ours are issued within one to two business days, and nothing goes to the laser until you approve it. If the proof is not right, you get a full refund.
What to send your supplier
- Your logo file (vector preferred)
- The size you need it cut at — this determines whether the fine detail is achievable
- The surface and application method you'll be using
- How many times you expect to reuse it
Ready to order
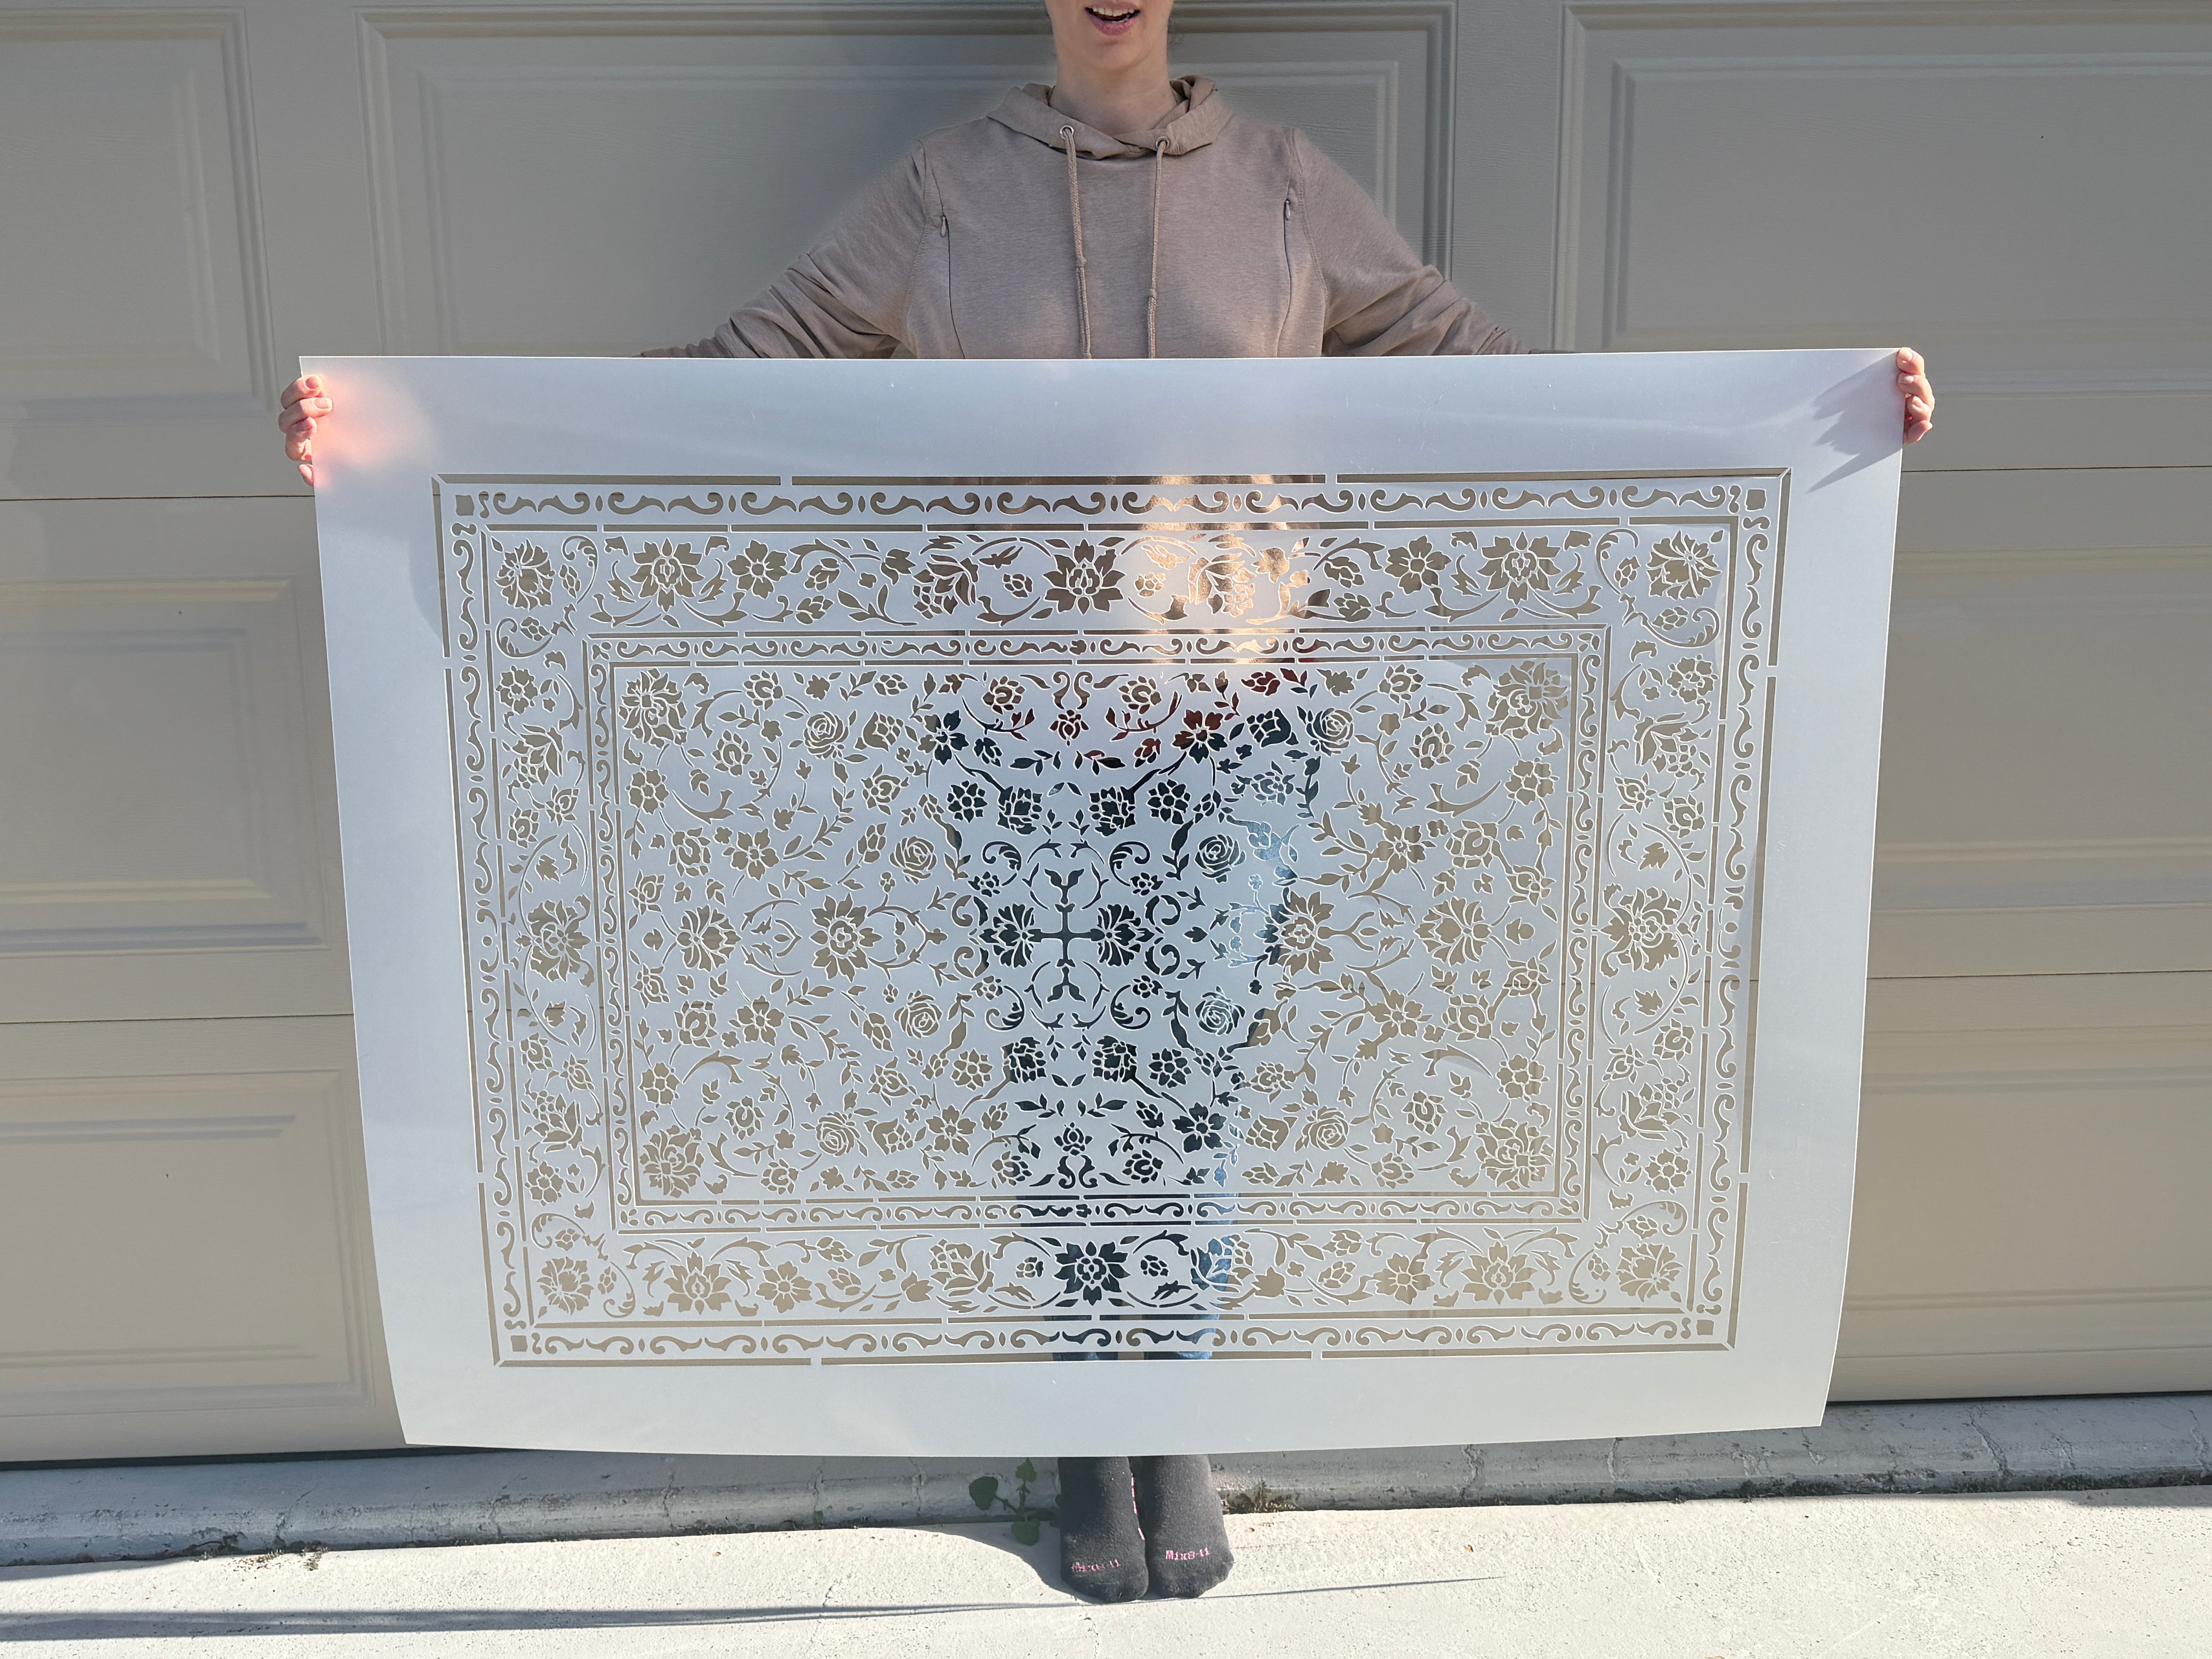
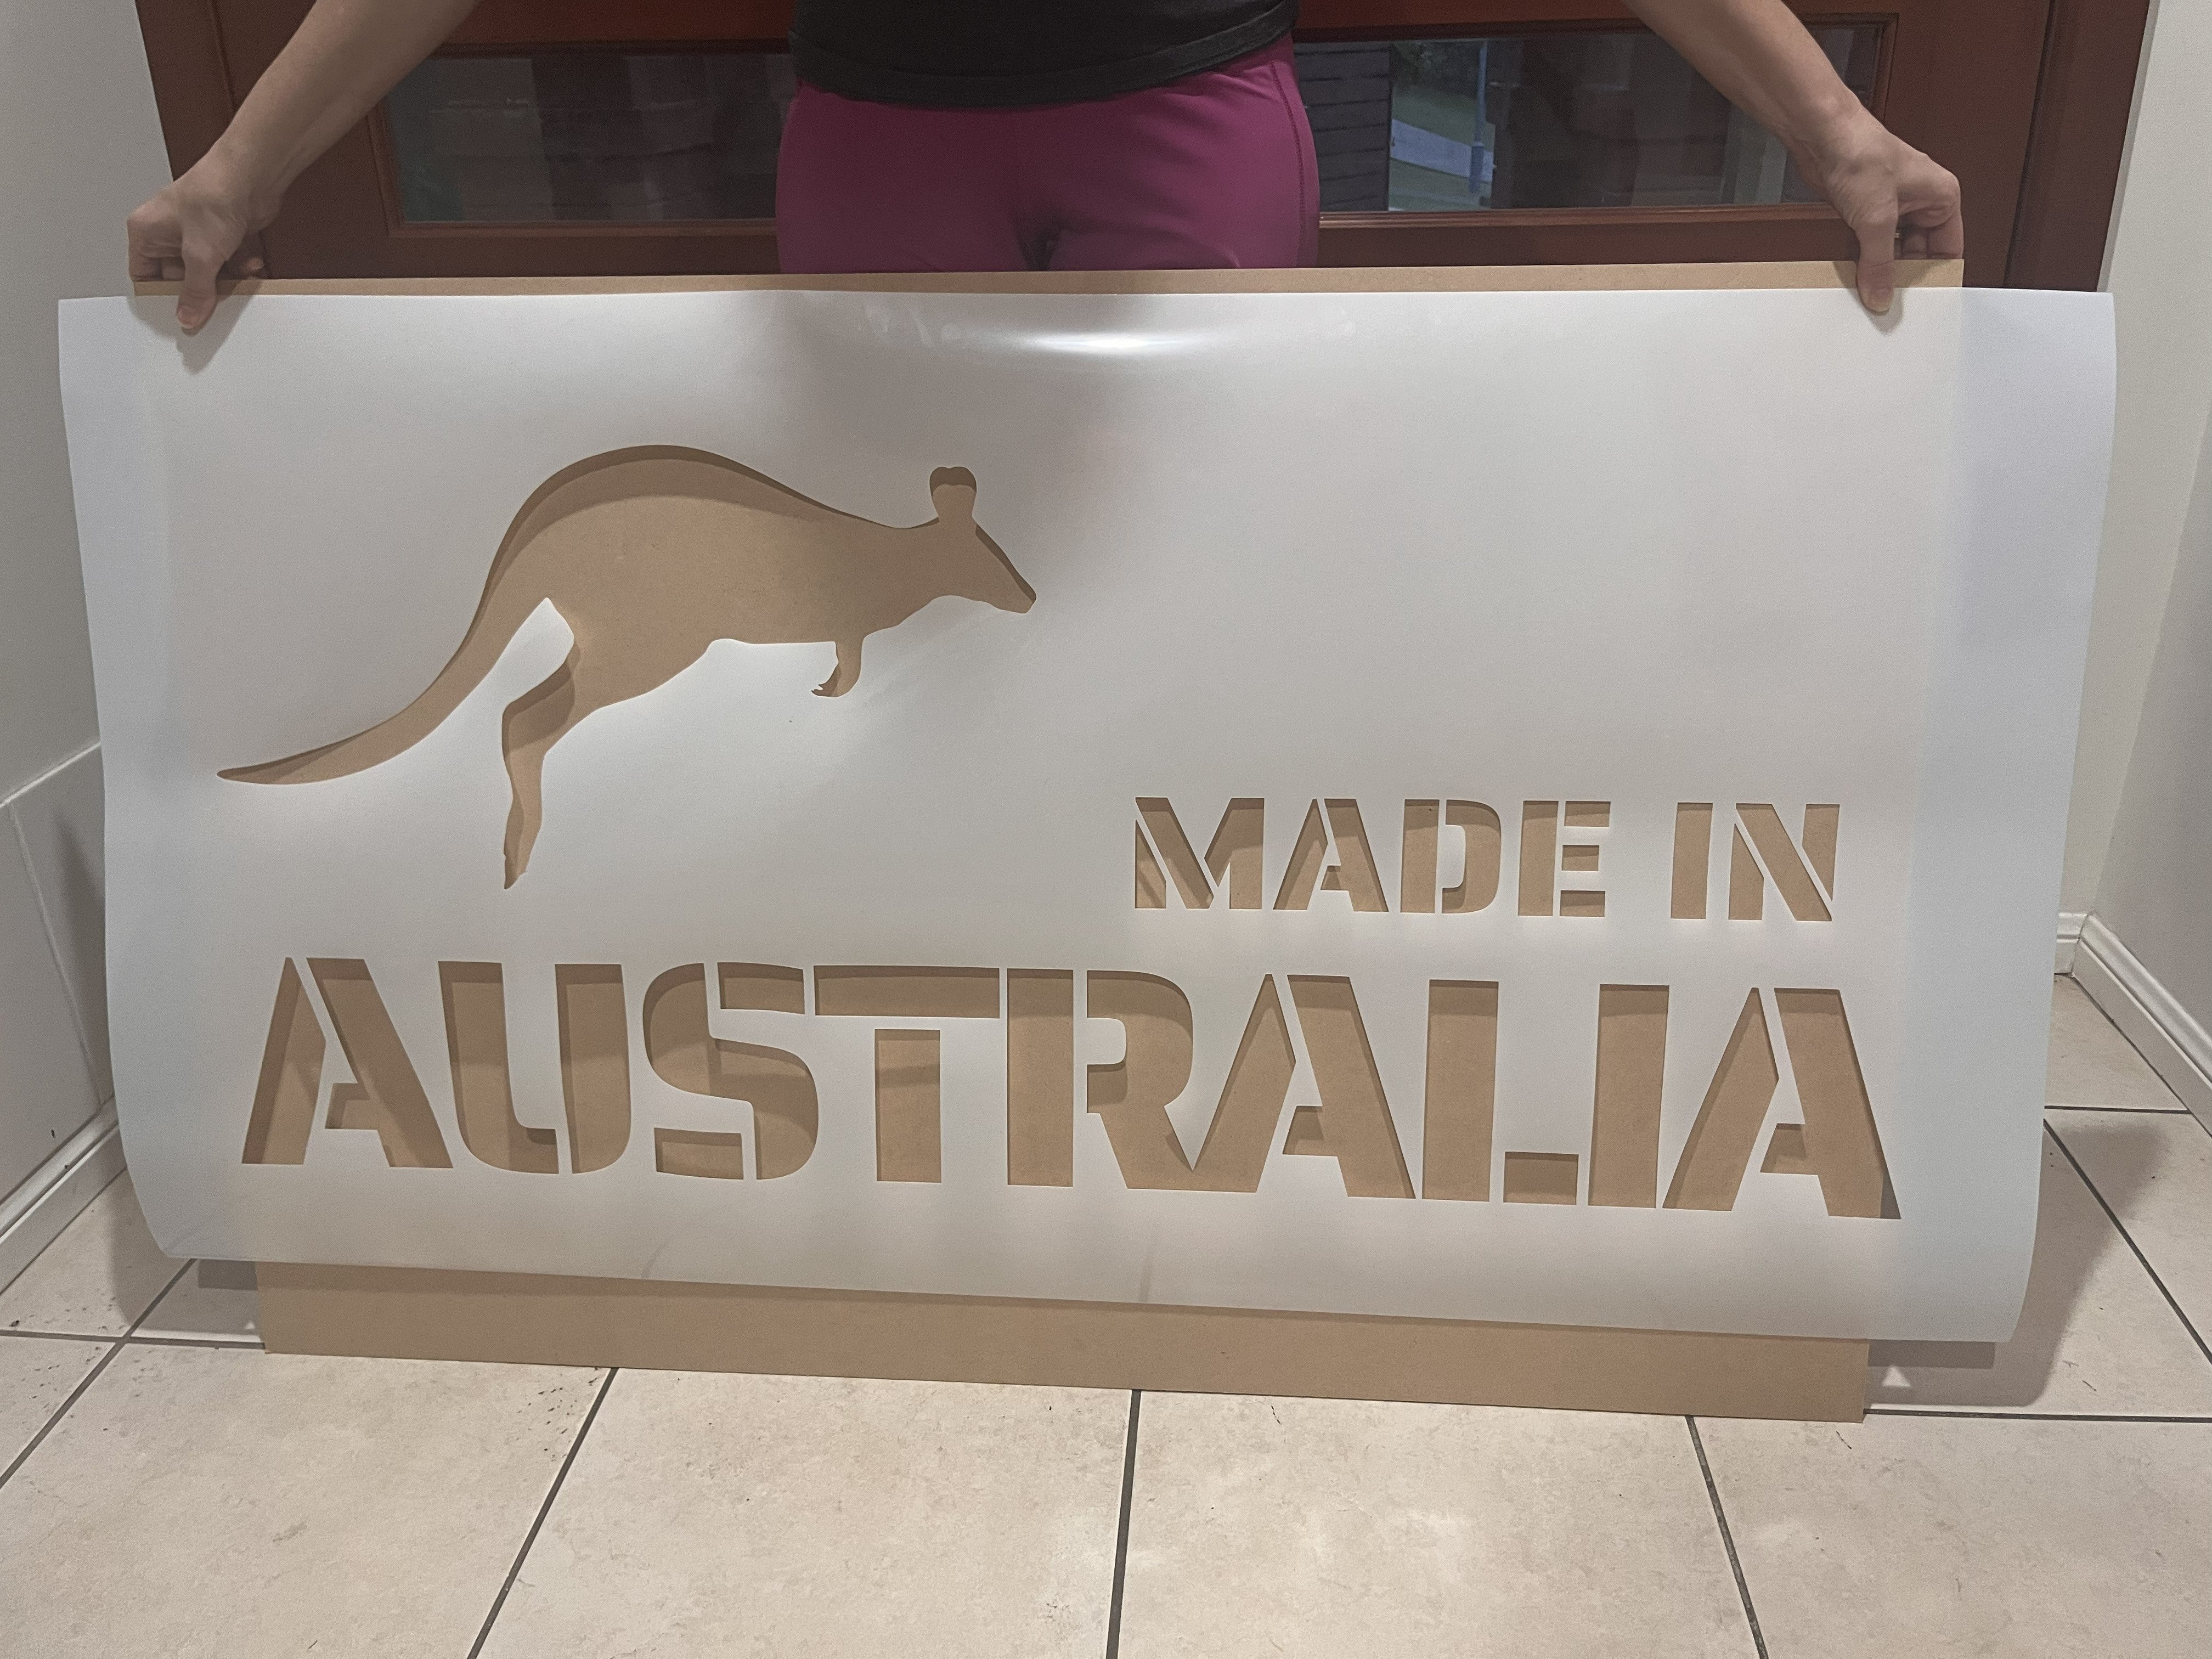
Upload your logo directly on our custom Mylar stencil product, or send it to info@tinkable.com.au for a free quote if you would rather talk it through first — we will tell you before you order whether your artwork will hold up at the size you want. For large-format work on walls, floors or signage, use the large custom stencil option, which cuts up to 1400mm wide and continuous in length. If your design is text only, the text stencil designer handles the bridging for you automatically.

Written by Katharine Huth

Leave a comment
This site is protected by hCaptcha and the hCaptcha Privacy Policy and Terms of Service apply.