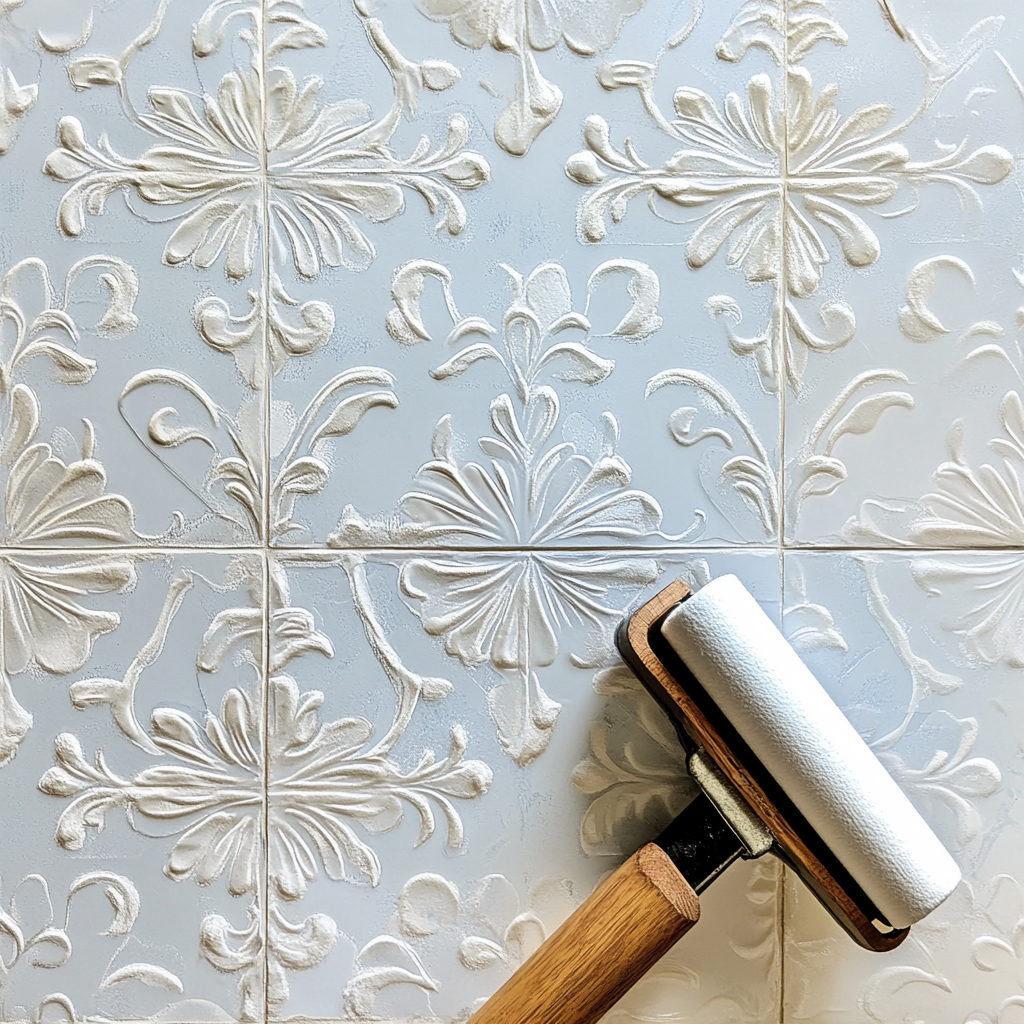
How to Use a Stencil Like a Pro – With a Roller!
How to Use a Stencil Like a Pro – With a Roller!
Stencils are a simple yet powerful way to add personality to your walls, floors, furniture, and craft projects. At Tinkable, we specialise in precision-cut custom stencils to suit any creative vision—but knowing how to use your stencil can make all the difference in achieving a clean, crisp result.
In this guide, we’ll show you how to use a stencil with a roller and share some handy tools you can grab from Amazon to help you nail your next project.
Why Use a Roller?
While brushes are great for detailed or textured surfaces, rollers are perfect for covering larger areas quickly and evenly. A high-density foam roller in particular can help you apply paint cleanly without bleeding under the stencil.
What You’ll Need
- A stencil (custom-cut from Tinkable, of course!)
- Repositionable spray adhesive (optional, but helps prevent bleed)
- Painter’s tape
- High-density foam roller
- Minimal paint (less is more)
- Flat surface or project item
Step-by-Step Guide
1. Prep Your Surface
Make sure your wall, board, or fabric is clean, dry, and free of dust. A smooth surface gives the best results.
2. Secure Your Stencil
Use painter’s tape or repositionable adhesive spray to hold the stencil flat against the surface. This is key to stopping paint from bleeding under the edges.
Amazon pick: Scotch Blue Painter’s Tape – trusted, easy-release tape for clean edges.
Amazon pick: Krylon Easy-Tack Repositionable Adhesive Spray – great for keeping stencils flat without leaving residue.
3. Load Your Roller
Dip your foam roller lightly into your paint, then roll it onto a paper towel or scrap cardboard to offload the excess. The roller should be almost dry. This prevents bleeding and helps keep lines crisp.
Amazon pick: FoamPRO 164 Fine Finish Roller – ideal for smooth applications with stencils.
4. Apply the Paint
Roll gently over the stencil using even pressure. You can do multiple light coats rather than one heavy coat. Let each coat dry slightly before the next for the best results.
5. Peel and Reveal
Carefully peel the stencil off while the paint is still slightly wet to avoid cracking. Clean your stencil right after use so you can reuse it again and again.
Stencil Project Ideas
Not sure where to start? Here are a few fun stencil ideas to try:
- Tile stencils to refresh old floors or splashbacks
- Wall quotes in a nursery or home office
- Custom logos on signage or crates
- Seasonal decor for parties and events
- Fabric printing for tote bags or cushions
All of these can be made from durable, reusable stencils we custom cut right here in Australia.
Ready to Roll?
Using a stencil with a roller is a fast and satisfying way to transform a space or object. With the right tools and a little patience, you can create professional-looking results on a DIY budget.
Need a custom stencil? Reach out to us at Tinkable—we’ll help you bring your idea to life.


Leave a comment
This site is protected by hCaptcha and the hCaptcha Privacy Policy and Terms of Service apply.